By Jerry Gach (TheWormDude@comcast.net) and Julie Orr
Choose a Good Location for your Worms
A garage or shady area without ANY direct sunlight is best. Also, worms appreciate air, so make sure that the is space around your bin is clear of obstructions for good air circulation.
Choose your Worm Bin
Buy one online or from The Worm Dude
See if one is available through your waste management company or city. I received mine at a subsidized discount several years ago when I lived in Menlo Park.
Make one yourself!- there is tons of information on internet for DIY worm bins.

Create Bedding for your Worms
Buy some coconut coir “bricks”. They hold the water best and worms love it. Easy to find online or sold as reptile bedding at pet store. Also available for purchase from The Worm Dude. Place brick in a large bucket and add 2-3 gallons of water. Non-chlorinated water is best. If you are using municipal water, let it sit out for 24 hours before hand to chlorine to evaporate. Always avoid water from water softeners. since it contains harmful salts. Soak your coir brick for 1 hour and wring out dripping water. You don’t want to wring out all of the water.
If you don’t use coir you can also gather recycled newspaper (avoid colored) or cardboard. These materials need to soak a full 24 hours. Tear newspaper, cardboard and other brown stuff in ½” strips or smaller pieces to create about 6” thick layer or more. Bedding is carbon based material that is considered “Browns” in the composting world. Even though stuff like newspaper is not brown in color, it is carbon based and holds water well. Plus, the worms love to eat it and turn it into vermicompost, along with your produce scraps.
Your bedding should have the consistency of a damp sponge after its been gently wrung out (not dripping wet).
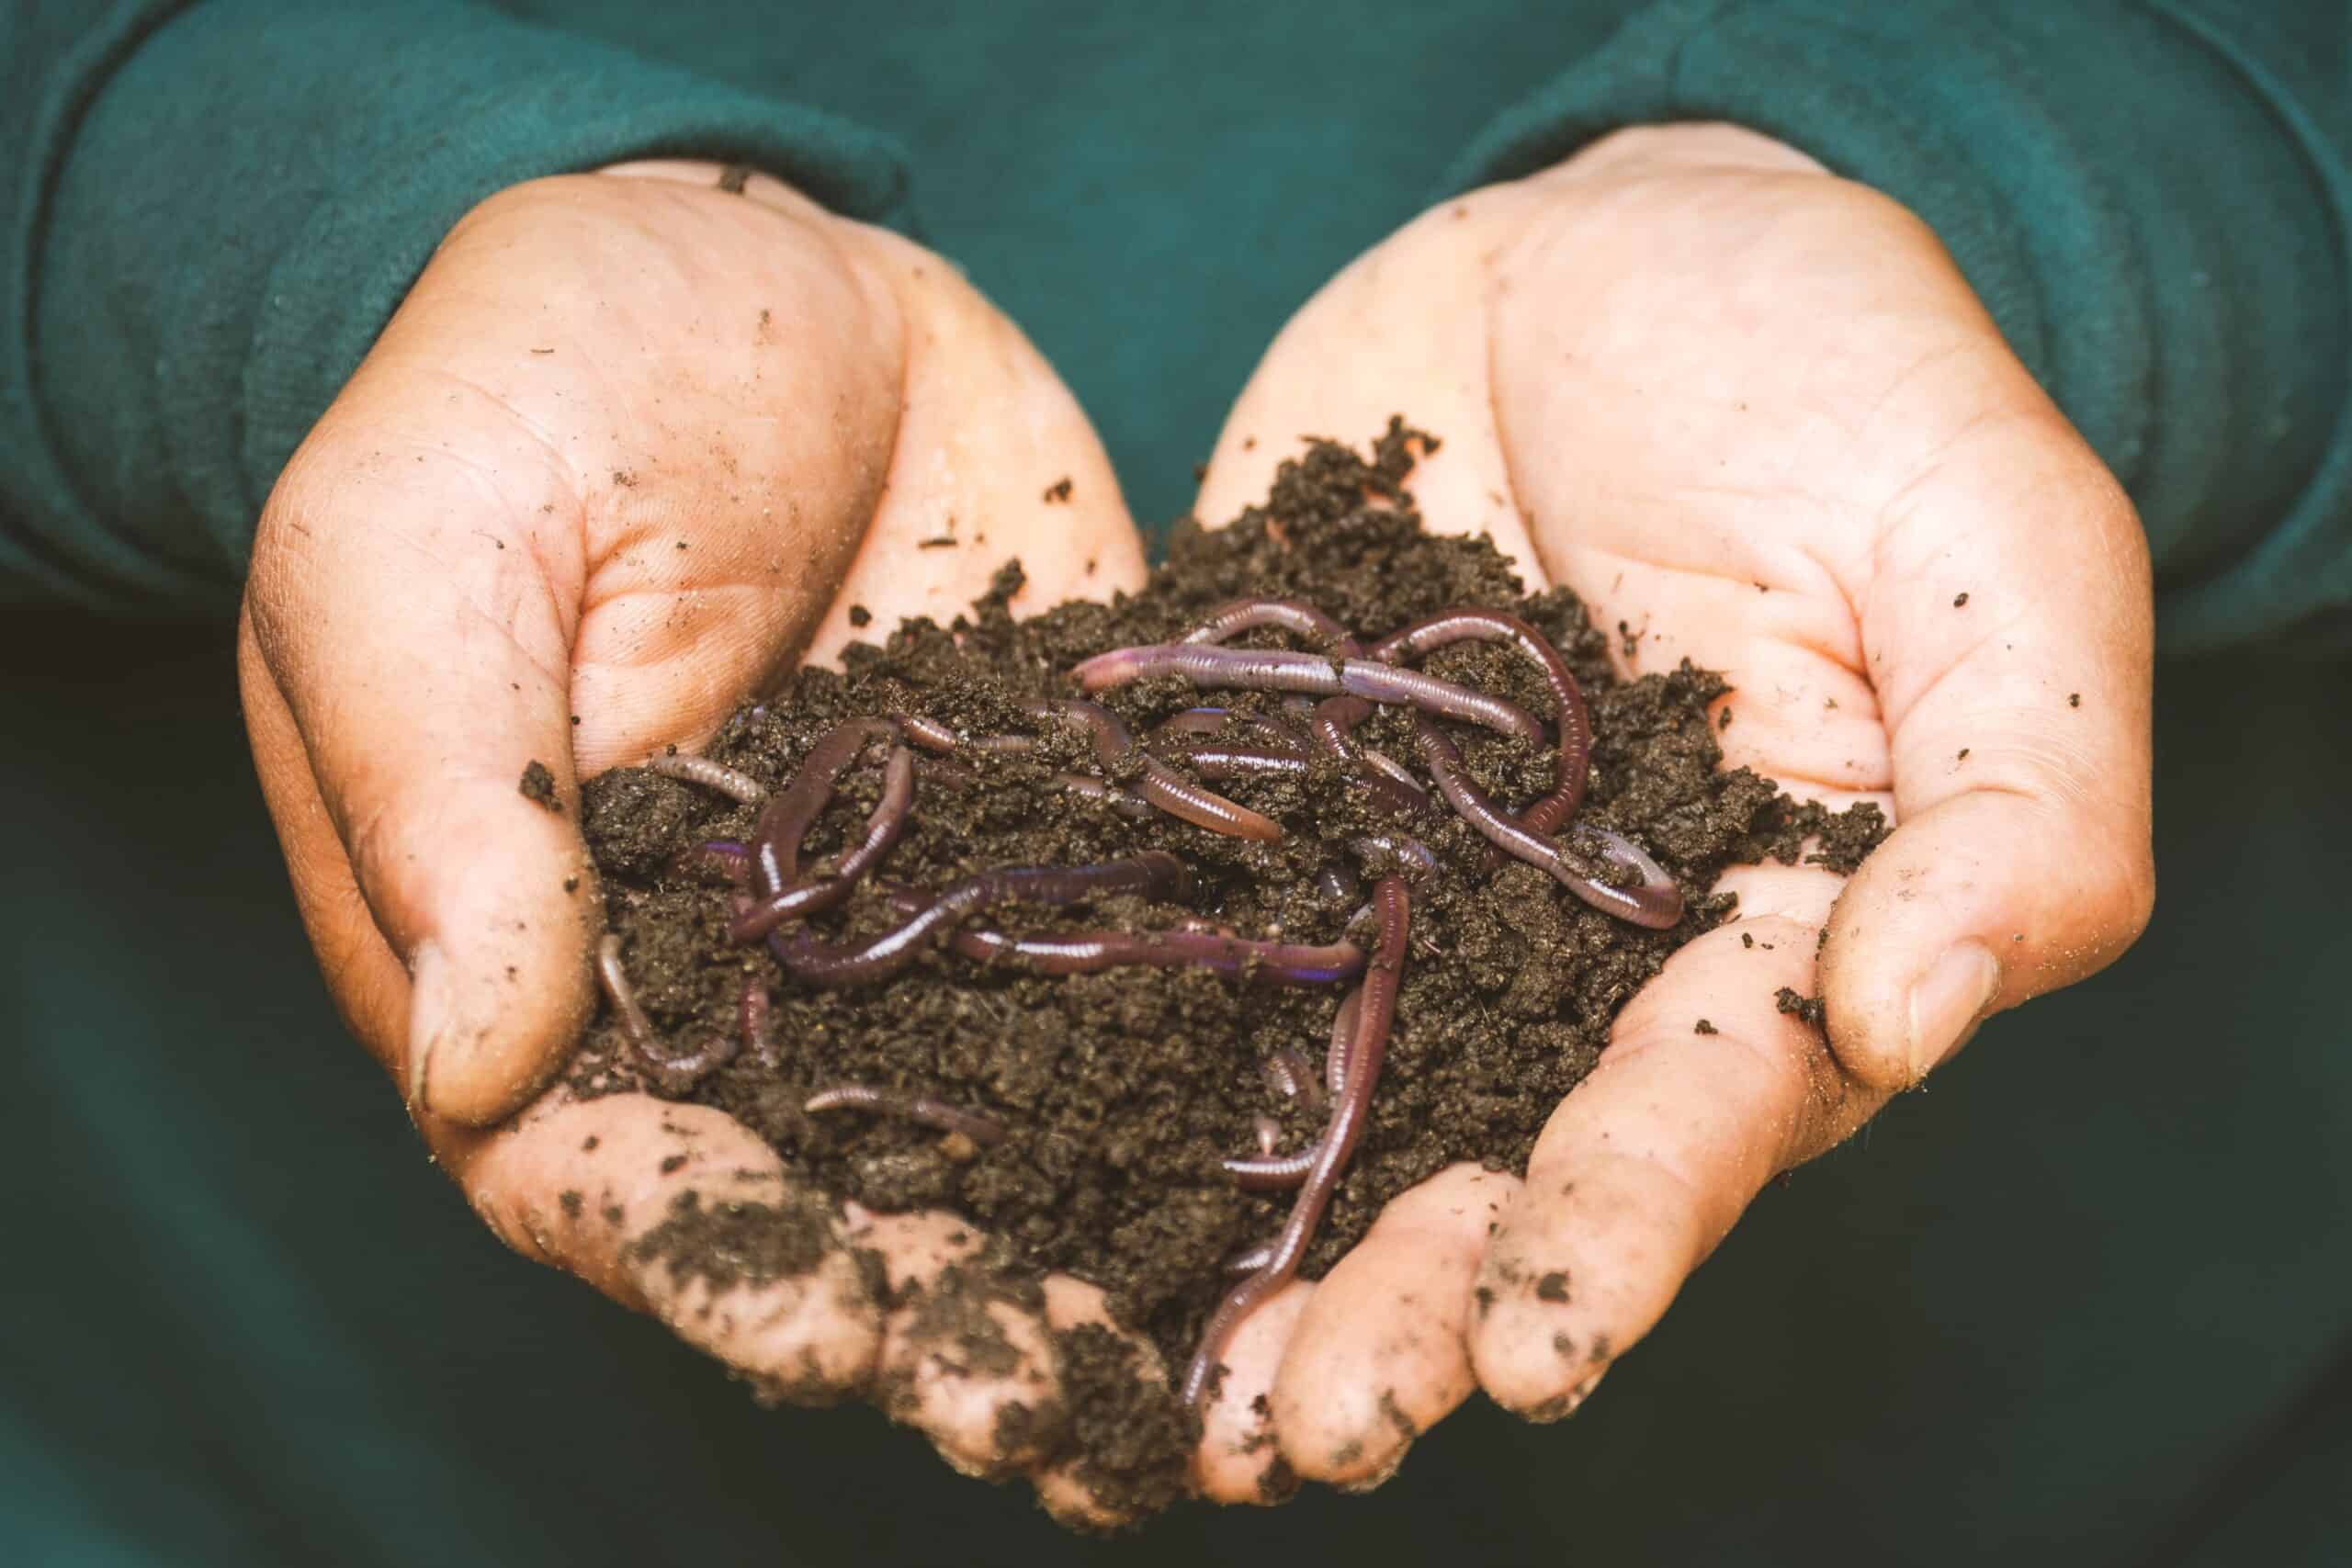
Bring in the Superheroes!
Add composting red worms or giant reds. Yes of course The Worm Dude can ship you worms! 1- 3 pounds of worms work well for most families.
Add produce Scraps. This is the actual food source, and is considered “Green” in the composting world as it is loaded with nitrogen.
Here’s the BIG secret, so read carefully. This is where I (Julie) screwed up my first worm bed which caused a soupy, stinky mess! Add small amounts of kitchen scraps under one corner of bedding, then cover the scraps completely with bedding and wait for the worms to come to the food. If you always bury the food beneath clean bedding and do not overfeed, you will avoid flies and other creepy critters.
Simplify your life by just feeding in one corner. Feed that corner and bury the food at the bottom of your bin. Always check to see if your corner of food is gone before adding more food. Amount of scraps per week in total should be roughly the same size as the weight of worms added to bin. One pound of food for one pound of worms- easy!
In addition to vegetable peels, worms love sweet stuff such as fruit, tomatoes, onions, and some rinds like watermelon & cantaloupe. Avoid feeding citrus rinds, grains, seeds, meat, bones, oils, dairy products, corn husks, potato spuds, and artichokes.

Ongoing Worm Care
If your bin gets dry, Mist bedding with spray bottle as needed to keep bedding moisture feeling like a wrung-out sponge, Remember, your produce scraps will release water when they break down, so you may or may not need to ever mist your bin after the initial setup.
Harvest your Rewards
Harvest castings when they look rich, fluffy, black and no longer look like original bedding.
You now have the finest, natural soil amendment in the world!


Leave A Comment